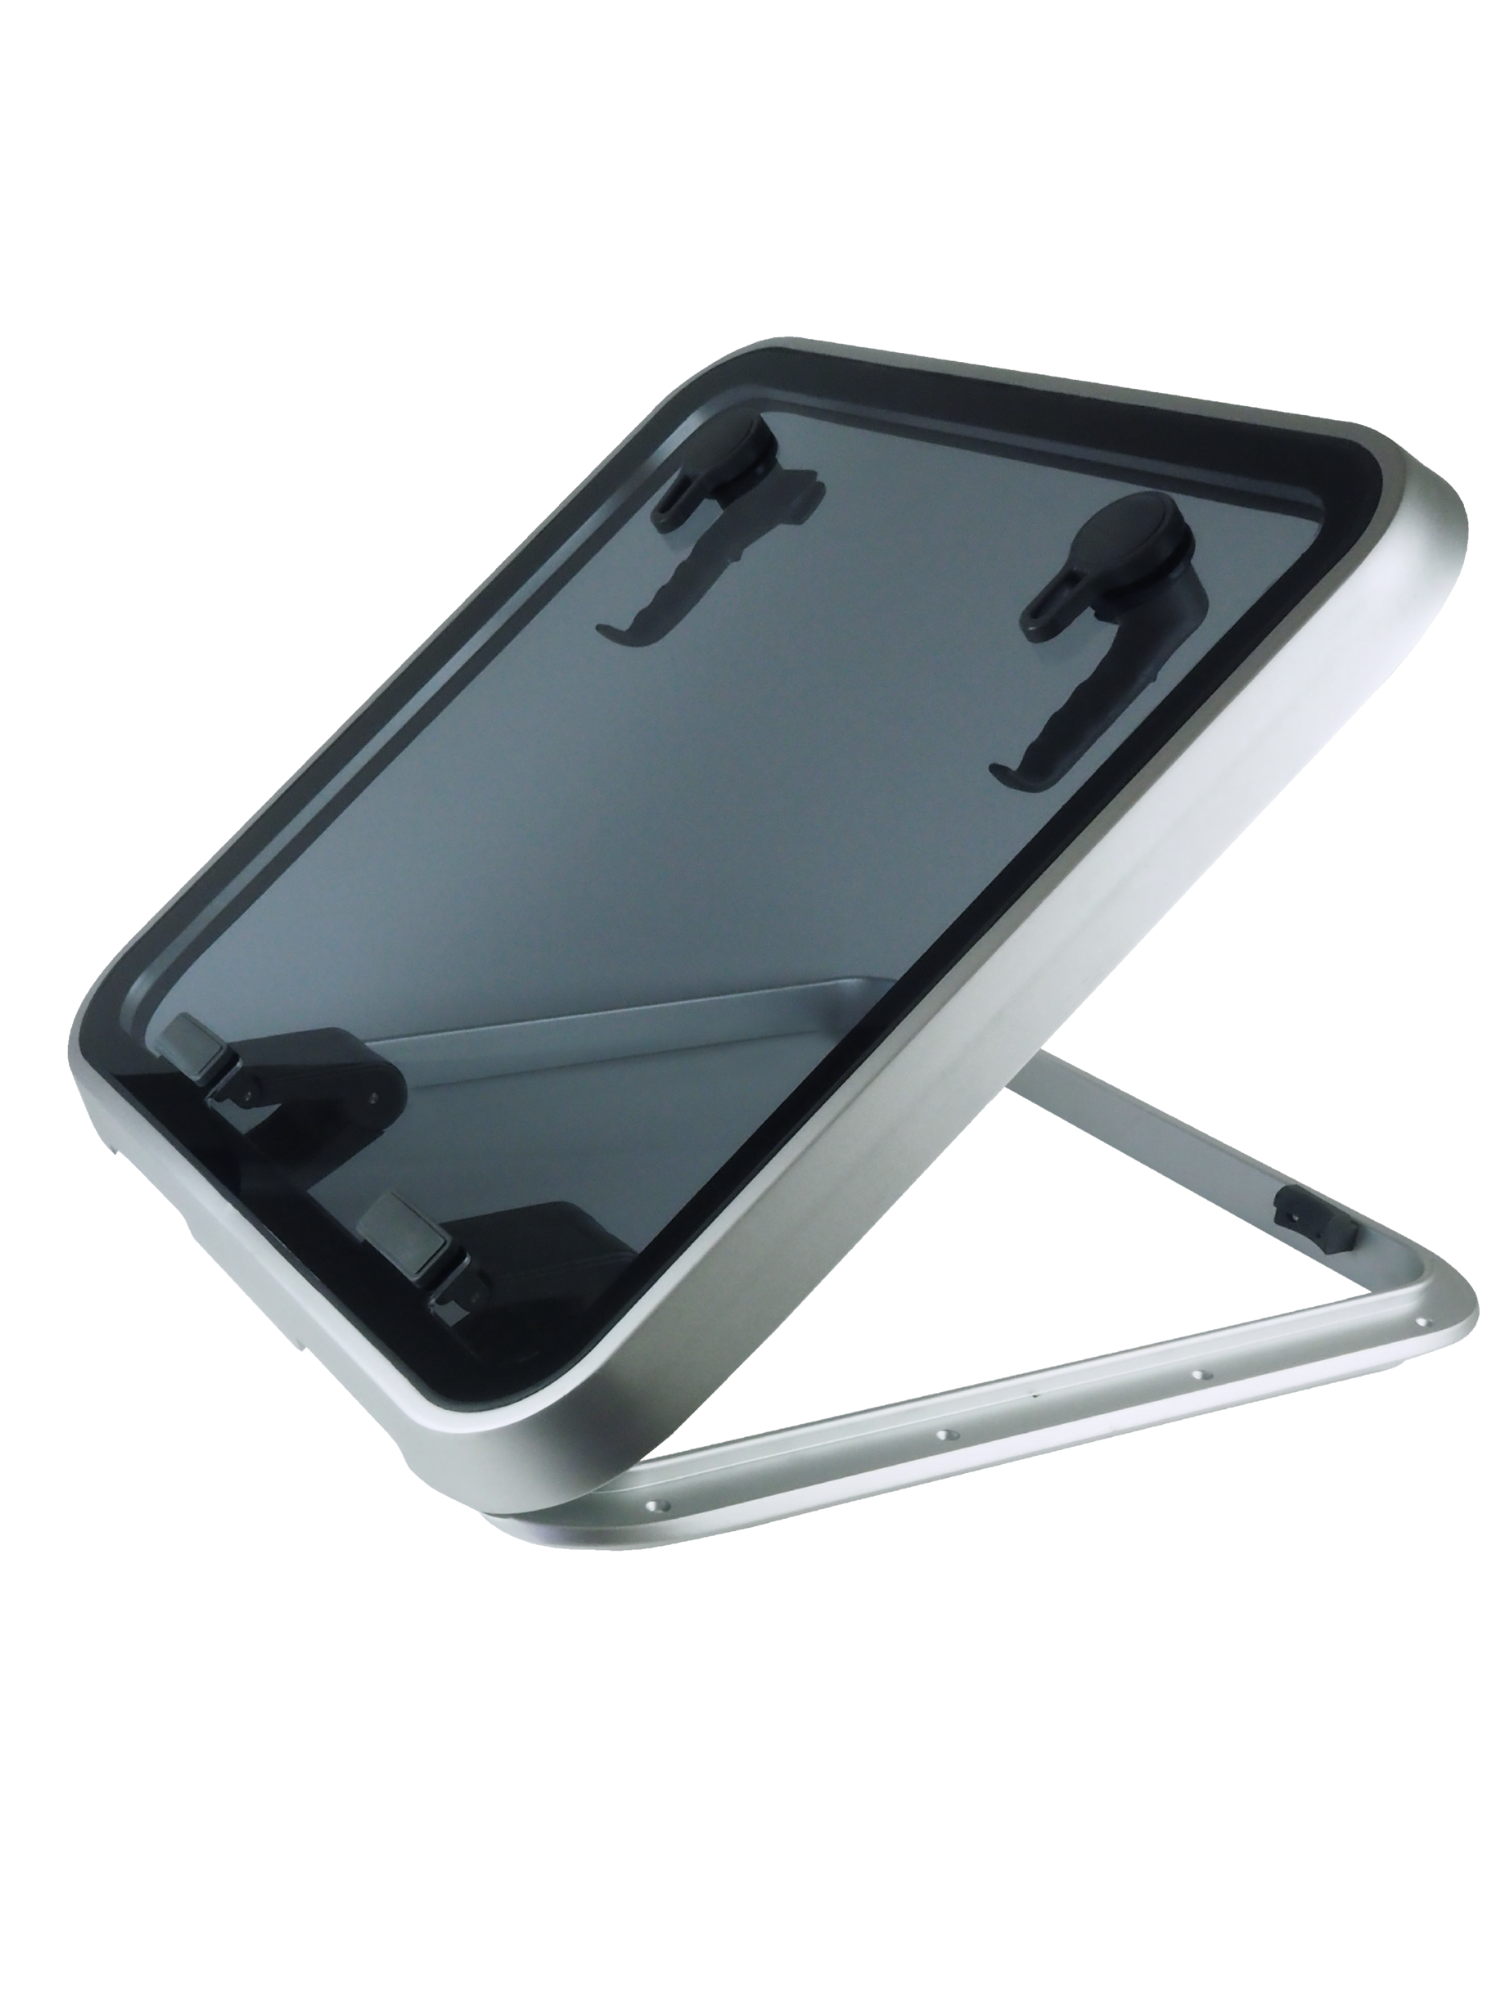
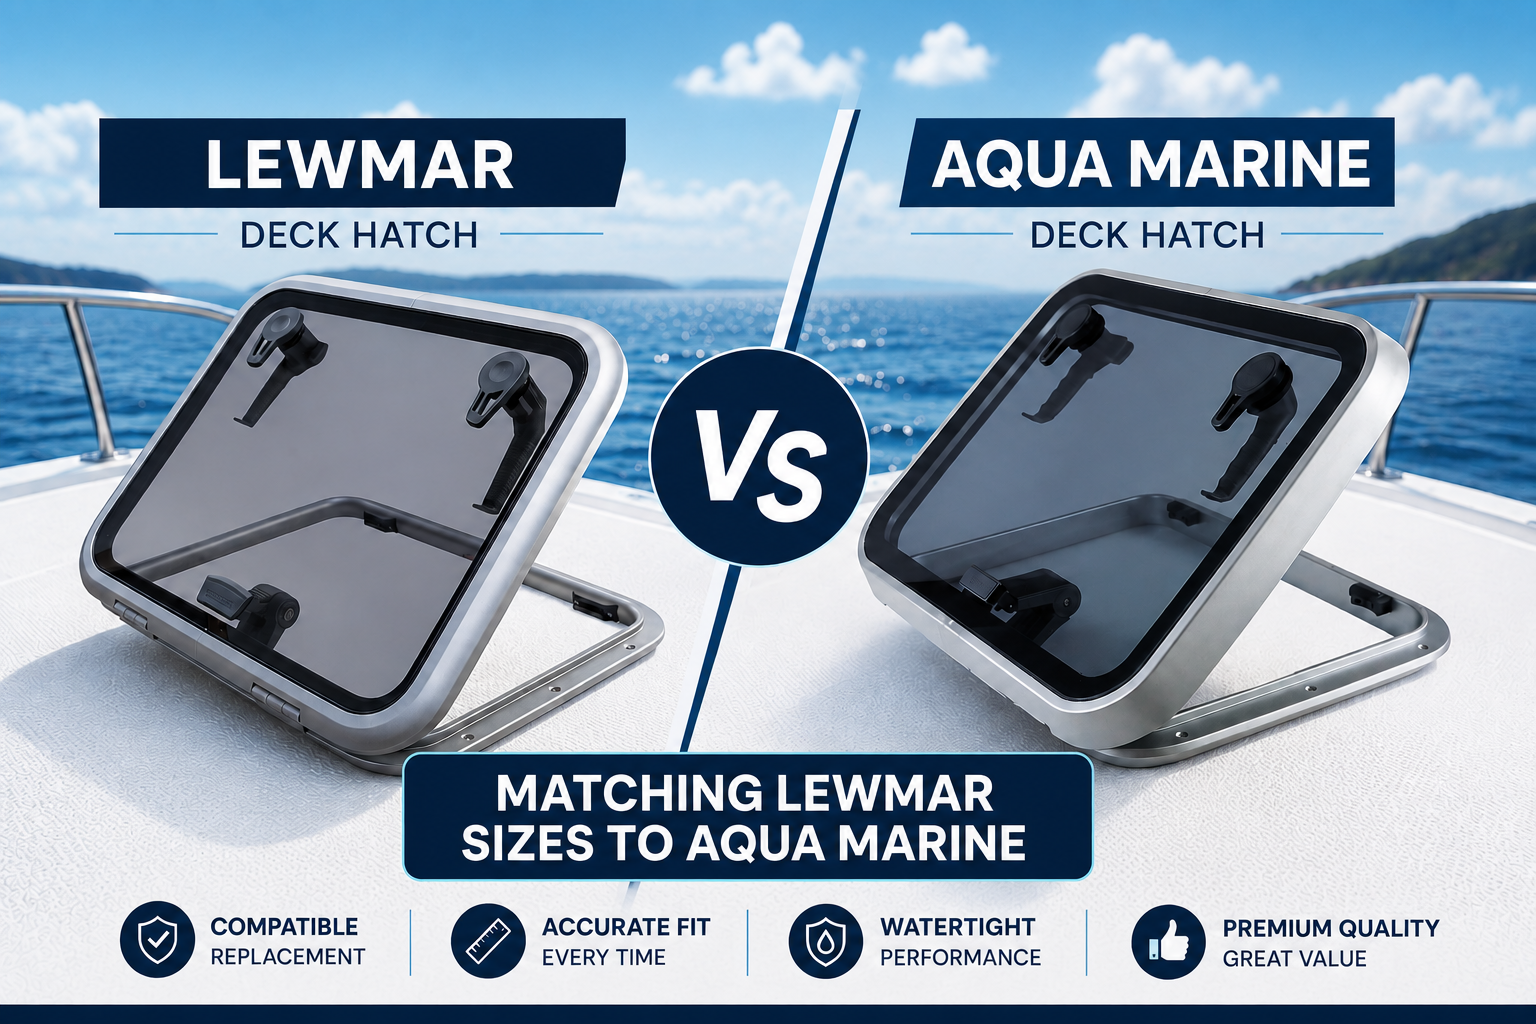
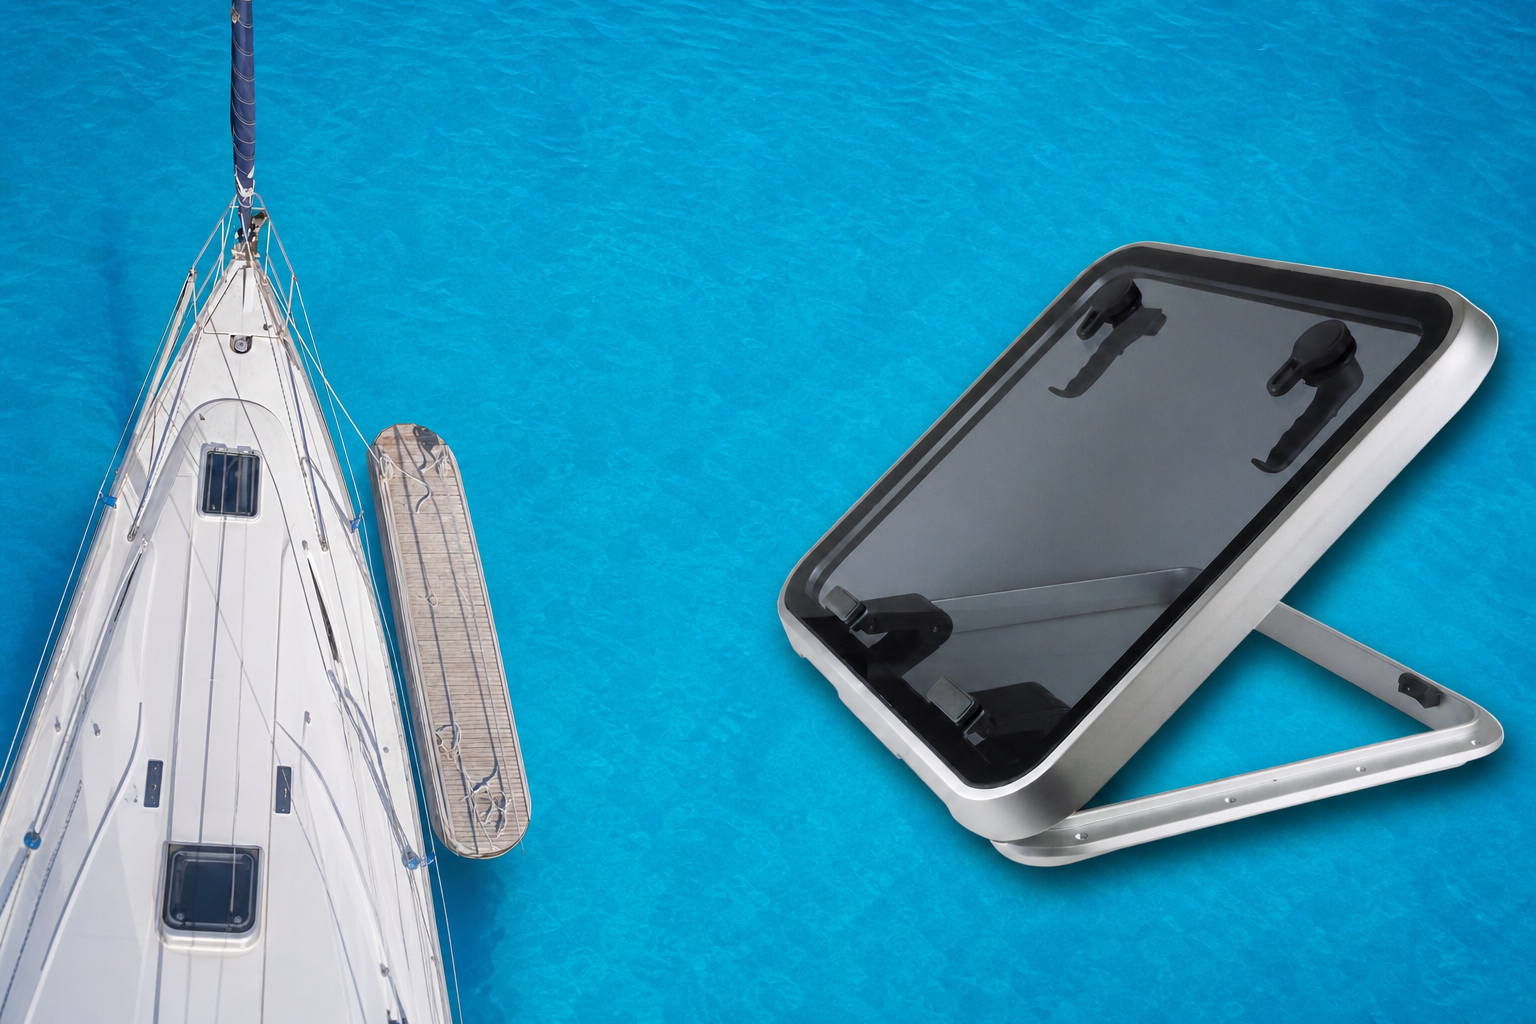
If you’re replacing Lewmar deck hatches — or specifying hatches for a refit and comparing options — you’ve probably noticed that Lewmar parts carry a significant price premium. Aqua Marine Storm Hatches are manufactured to the same aperture dimensions, the same bolt patterns, and the same ISO standard as their Lewmar equivalents, which means they fit directly into existing openings with no modification required.
Here’s everything you need to know about choosing the right hatch and fitting it correctly — including the full step-by-step installation process from the official fitting instructions.
What Makes a Hatch “Lewmar-Compatible”?
A Lewmar-compatible hatch shares the same aperture dimensions and bolt pattern as the equivalent Lewmar model. For anyone replacing a worn or cracked hatch on an existing vessel, that means no cutting, no fairing, no structural work — the replacement drops straight into the existing opening.
Cutting a new deck aperture is expensive, time-consuming, and if done poorly, a route to serious structural problems. True compatibility makes the job clean, fast, and permanent.
Lewmar Ocean Hatch Product Codes & Aqua Marine Equivalents
If you know the original Lewmar product or ordering number, the table below provides a quick cross-reference to the corresponding Aqua Marine Storm Hatch.
Aqua Marine Storm Hatches: Built to the Same Standard
Aqua Marine Storm Hatches comply with ISO/DIS 12216.2(E), Design Category “A” — the highest offshore rating, covering vessels operating in Areas IIa, III and IV. This is the same standard applied to Lewmar hatches, and it means the hatch has been tested to withstand the structural loads, water ingress pressures, and operational stresses of genuine offshore use.
For anyone maintaining their vessel’s design category compliance — important for offshore insurance and passage planning — Aqua Marine Storm Hatches keep you fully covered.
Key features at a glance:
- Lewmar-compatible dimensions — drop-in fit into existing apertures, no modification needed
- ISO Design Category A certified — tested and rated for offshore and ocean conditions
- Precision friction lever system — holds the hatch open at any angle without a gas strut
- Locking ventilation position — ventilate below decks without the hatch blowing fully open
- UV-stabilised acrylic lid — maintains optical clarity over years of exposure
- Suits wood, GRP, steel and aluminium alloy decks — compatible with M5 and M6 stainless fittings throughout
Step 1: Prepare the Deck Surface
The lower frame must be fitted to a flat surface with a maximum tolerance of +/- 1mm. Even a slight crown or camber in the deck will prevent a proper seal. Check the installation area carefully before marking out — if the surface needs fairing, address it first.
Also confirm that your deck or hull thickness falls between 25mm and 70mm (flanged version), and allow adequate clearance above the hatch for the lid to open fully — a common oversight on vessels with low coachroof or adjacent fittings.
Warning
Do not open and close the hatch more than necessary until the lower frame is fully secured. Repeated movement before fixing is complete can damage the frame alignment and compromise the seal.
Step 2: Mark Out and Cut the Aperture
Position the lower frame square on the deck and mark around the inside edge with a pencil. For flanged hatches, use the cut-out template printed on the reverse of the box packaging — it gives you the precise aperture size for a clean, accurate fit.
Cut along the outside of the pencil line using a jigsaw or reciprocating saw. On GRP decks, seal the exposed laminate edges immediately after cutting to prevent water ingress into the core material. On steel or aluminium decks, remove all burrs and sharp edges before proceeding — bare metal will corrode and can damage the bedding compound over time.
Important
Hatches are not structural members. If the deck requires additional stiffening to prevent distortion in heavy weather, this must be addressed before the hatch is fitted — not after.
Step 3: Bed and Fasten
Before applying any sealant, dry-fit the lower frame one final time. It should sit flat, square, and flush — no rocking, no gaps. This is your last chance to adjust before the compound goes in.
Apply marine-grade silicone sealant to the channel in the lower frame. The compound must be compressible (minimum 3mm thickness) so it can be pulled down evenly as you fasten. Drill two fixing holes in opposite corners first and insert your fasteners to locate the frame, then drill and fasten the remaining holes working from the centre outwards to the edges — this ensures even compression and prevents the frame lifting at corners.
Fastener selection by deck type:
| Deck Type |
Fastener |
| Wood |
M5 through bolts or marine-grade wood screws (minimum 40mm length) |
| GRP / Steel / Aluminium Alloy |
M5 through bolts or machine screws into tapped backing plates |
| Hinge positions (all deck types) |
M6 or 1/4″ through bolts only — never wood screws at hinge positions |
Clean off surplus sealant from around the frame as you work, before it cures. Once complete, check the lid for correct closing and locking action, and even seal pressure all the way around. Any issues are far easier to correct now than after the sealant has fully set.
Adjusting the Friction Levers
The friction lever system holds the hatch open at any angle without a gas strut. Levers are factory-set but may need occasional adjustment — particularly if the hatch starts dropping closed on its own or becomes stiff to open.
Using a 5mm hexagon key, turn the socket head adjusting screws on either side of the lever assembly approximately 1/8th of a turn clockwise to increase holding force. Do this in the fully open or closed position. If your hatch has multiple lever units, adjust all levers equally to maintain balanced operation.
Warning
Do not lubricate the friction lever assemblies. Lubricant will destroy the friction mechanism and cause the hatch to fall open or closed unpredictably — the opposite of the intended effect.
Ventilation and Day-to-Day Use
All Aqua Marine Storm Hatches include a locking ventilation position. Close the handles into the centre slot of the catch block to hold the hatch ajar for airflow without it blowing fully open. This is particularly useful at anchor or in harbour overnight.
A few points to keep in mind in daily use:
- Do not stand on or load the lid when in the ventilation position — this can damage the handle or catch block assembly
- The hatch is not self-supporting beyond the vertical position and will fall fully open if unrestrained — take care when operating in this range
- Keep hands and limbs clear of lever and lid pinch zones when operating or adjusting
Cleaning and Maintenance
Aqua Marine Storm Hatches need minimal maintenance to stay in top condition. Wash the frame with soap, warm water and a soft cloth, and rinse thoroughly with fresh water after saltwater exposure. For the acrylic lid, use soap and water only — abrasive or solvent-based cleaners cause micro-crazing that weakens the acrylic over time, even when the damage isn’t immediately visible.
Check the perimeter seal annually and replace if it shows signs of compression set or cracking. Inspect the bedding compound around the frame base at the same time — any water ingress around the frame indicates the compound has failed and the hatch needs re-bedding.
Shop Aqua Marine Lewmar-Compatible Deck Hatches
In stock now with next-day UK delivery — drop-in replacements for Lewmar deck hatches, ISO Design Category A certified
Browse Deck Hatches
Frequently Asked Questions
Are Aqua Marine Storm Hatches the same size as Lewmar deck hatches?
Yes. Aqua Marine Storm Hatches share the same aperture dimensions and bolt patterns as equivalent Lewmar models. If you’re replacing an existing Lewmar hatch, an Aqua Marine Storm Hatch of the same size will fit directly into the existing deck opening without any cutting or modification.
What deck thickness do these hatches suit?
The flanged version of the Aqua Marine Storm Hatch is rated for deck and hull thicknesses of 25mm to 70mm. If your deck falls outside this range, contact us before ordering to confirm suitability.
What fixings should I use on a GRP deck?
Use M5 through bolts or machine screws into suitable tapped backing plates. At hinge positions, M6 or 1/4″ through bolts must be used regardless of deck type. Do not use wood screws in GRP — they will not hold adequately under load.
My hatch won’t stay open — what do I do?
The friction levers need adjustment. Using a 5mm hexagon key, turn the socket head adjusting screws clockwise by 1/8th of a turn at a time to increase holding force. Do not apply any lubricant to the lever assemblies — this will make the problem worse, not better.
Can I fit an Aqua Marine deck hatch myself?
Yes — the installation is well within the capabilities of an experienced boat owner with basic tools. The most important steps are ensuring the deck surface is flat to within +/- 1mm, using a compressible marine silicone sealant, and fastening from the centre outwards. Our step-by-step guide above covers the full process.